Reports are your reward for all that hard work you put in entering records and transactions in QuickBooks. Sure, you can always find individual invoices, sales receipts, and customers by using the software’s search tools, but in order to make smart business decisions, you need to be able to see related subsets of the information you so carefully entered in neat rows and columns.
You’ve probably created at least some basic reports in QuickBooks. You may have, for example, wanted to see who’s late paying you, or whether you have unpaid bills. You might need to know your stock levels, or which purchase orders are still unfilled. You certainly want to keep a close eye on whether you’re making or losing money.

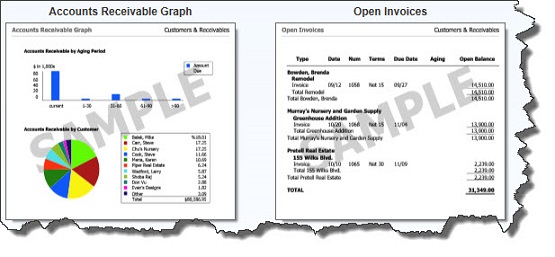
Figure 1: The QuickBooks Report Center displays examples of reports you can create using your company’s own data.
QuickBooks makes it easy to get those answers in only a few seconds. But to get really meaningful, targeted views of your accounting information, you’ll want to shape your reports so that they reveal precisely what you need to know. You can do some of this on your own, but you might want to enlist our help to drill down even further–and to create and analyze the more complex output that some reports can provide.
Configure Preliminary Settings
As often happens when starting a tutorial on a specific QuickBooks feature, the first step is to send you to the Preferences window. Open the Edit menu and select Preferences, then Reports & Graphs. With the My Preferences section open, you can instruct QuickBooks on some of the ways reports should be handled. You can choose to:
- Have the Modify Report window open every time you create a report (to remind you to make any necessary changes first).
- Set your Refresh options. If you always want to have the most current data displayed when you generate a report, you can tell QuickBooks to Prompt me to refresh or Refresh automatically by clicking on the button in front of the appropriate response. Choose Don’t refresh–the fastest method–if you don’t want to be interrupted when you’re working with a report. You can refresh when you’re done.
- Draw graphs in 2D to make them run faster, and Use [black and white] patterns instead of colors to better differentiate between segments.
Each person who has access to QuickBooks can set these Preferences any way he or she wishes.
Setting Up Company Preferences

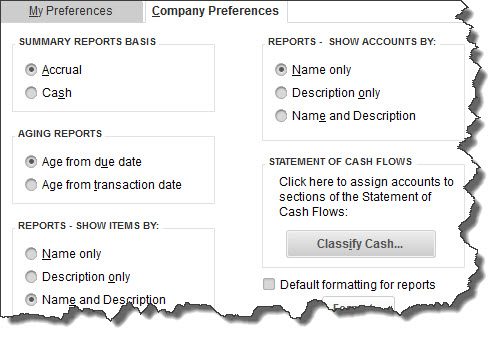
Figure 2: You must be the QuickBooks Administrator to set Company Preferences.
You can decide on your own whether Aging Report should start the aging process from the due date or the transaction date. Decide how you want Items and Accounts to appear in reports. And if you click the Format button located directly below Default formatting for reports, you can alter their appearance, for example, by changing fonts and indicating what information should appear in the header and footer.
For other preferences, you may need help. For example, do you understand the difference between running Summary Reports as Accrual or Cash? And have you worked with a Statement of Cash Flows before so you can assign accounts to various sections? This is a report the office should be generating and analyzing periodically for you, so don’t worry about dealing with it on your own.
Note: QuickBooks was designed for small business people, not accountants. But if you really want to get the most out of it to make the best business decisions possible, call the office for assistance with any concepts you don’t understand.
Navigating the Report Center

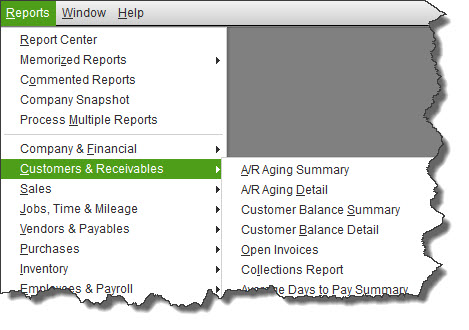
Figure 3: The QuickBooks Reports menu.
Unless you’re working with a very old version of QuickBooks, you have two options for accessing the software’s reporting functions. You can simply click on Reports in the left vertical pane to open the Report Center. Or you can get there by opening the Reports menu (which includes links to other areas, like the Transaction Journal, in addition to lists of QuickBooks’ reports divided by category).
Next month’s QuickBooks will cover several reports and their customization options. In the meantime, as always, don’t hesitate to call if you need help with QuickBooks reports and setup.

